

Her Majesty's DBS ReRestoration Update 1/2
 Gebruder Gumbold
San FranciscoPosts: 541MI6 Agent
Gebruder Gumbold
San FranciscoPosts: 541MI6 Agent
Hello Everyone,
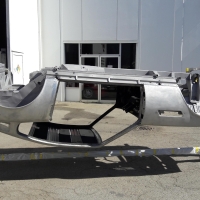
Sorry as there aren't too many sexy photos of finished, painted, and polished parts, as this is a time of labour intense work, with not very photogenic progress. That is the way of any restoration, and soon I will be turning the body and chassis over to my paint shop for a full coat of the red oxide 2 part epoxy primer, and I will then perform the seam sealer application, undercoat, and satin trim paint to the chassis underside and engine compartment. All that happens on the rotisserie. I must first, though, finish the stripping and prep of the underside, engine compartment, and sills. I stopped that procedure when my coachbuilder came aboard, and we concentrated on the metalwork and Sharknose fabrication, so the car was best on the lift for that operation...
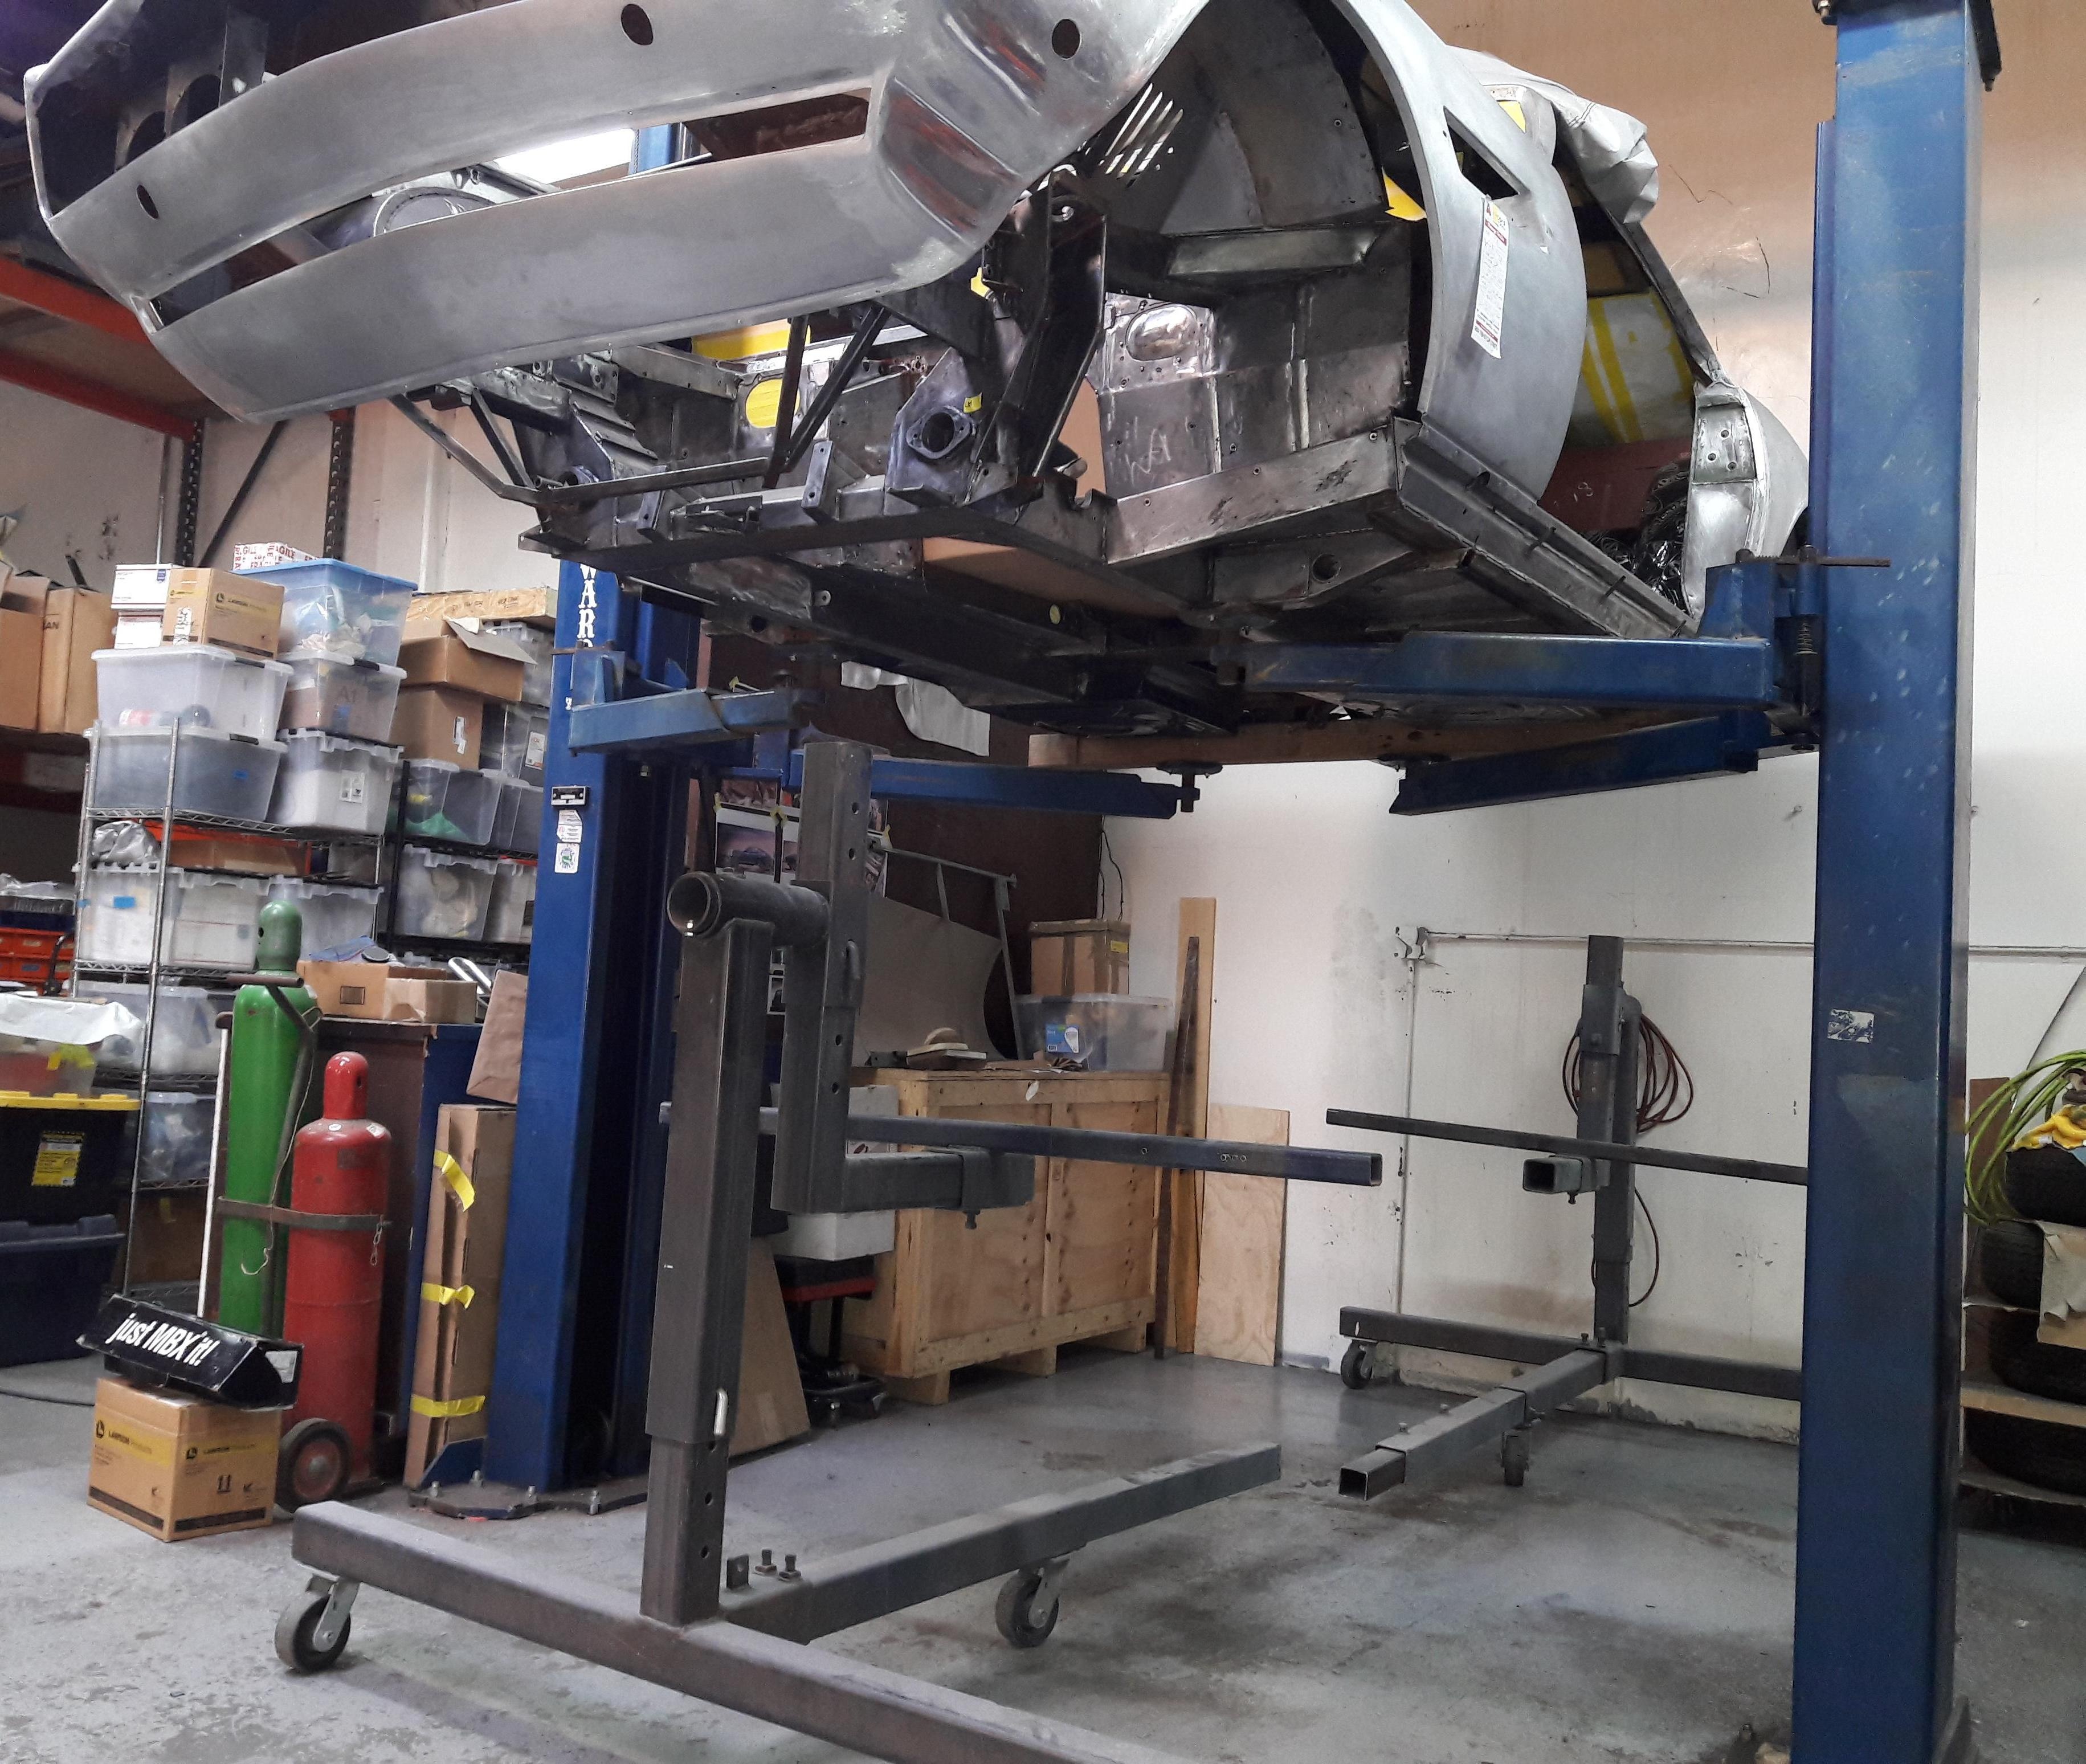
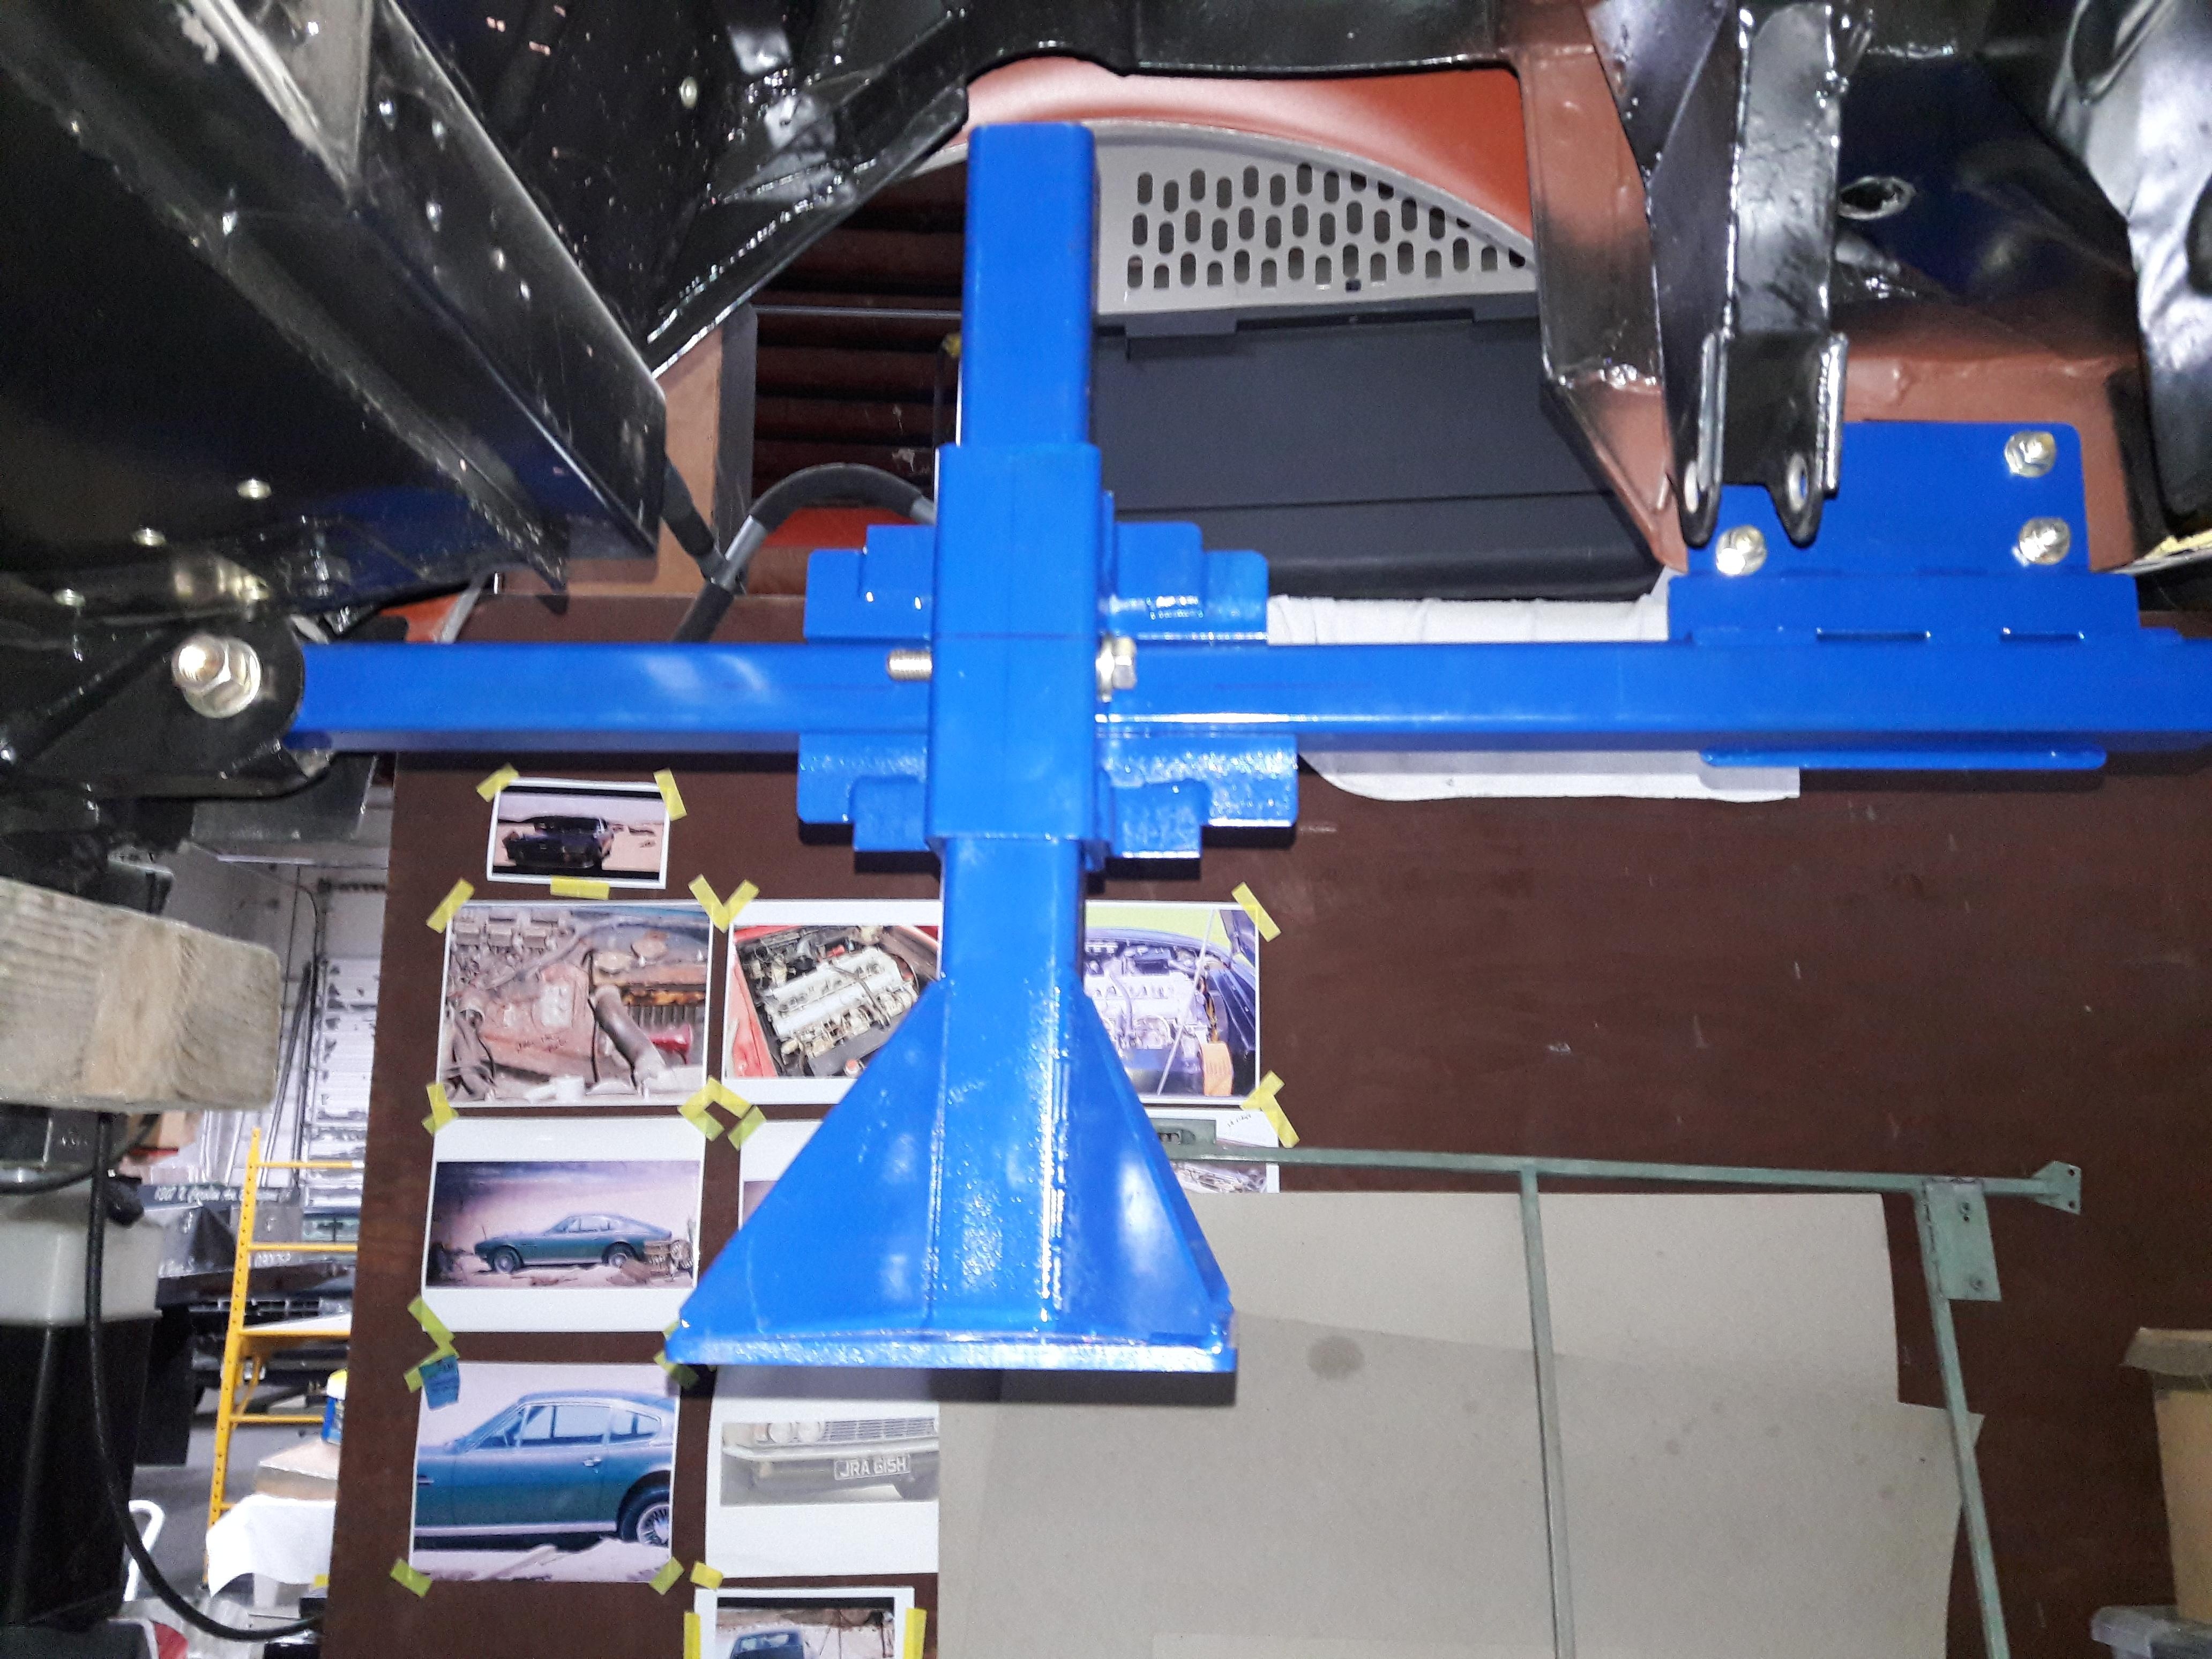
Here is the rotisserie that the DBS shall be mounted upon. Since the front Sharknose is now part of the body, I have to fabricate a whole new set of arms in order to mount the chassis on to the rotisserie, which will allow me to turn her on her side, or even upside down, in order to strip and prep the underside. As you can see, I had done about 50% of the work already, and as it was about a year ago that I stopped, some flash rust has developed, which will easily be removed with scuffpads....
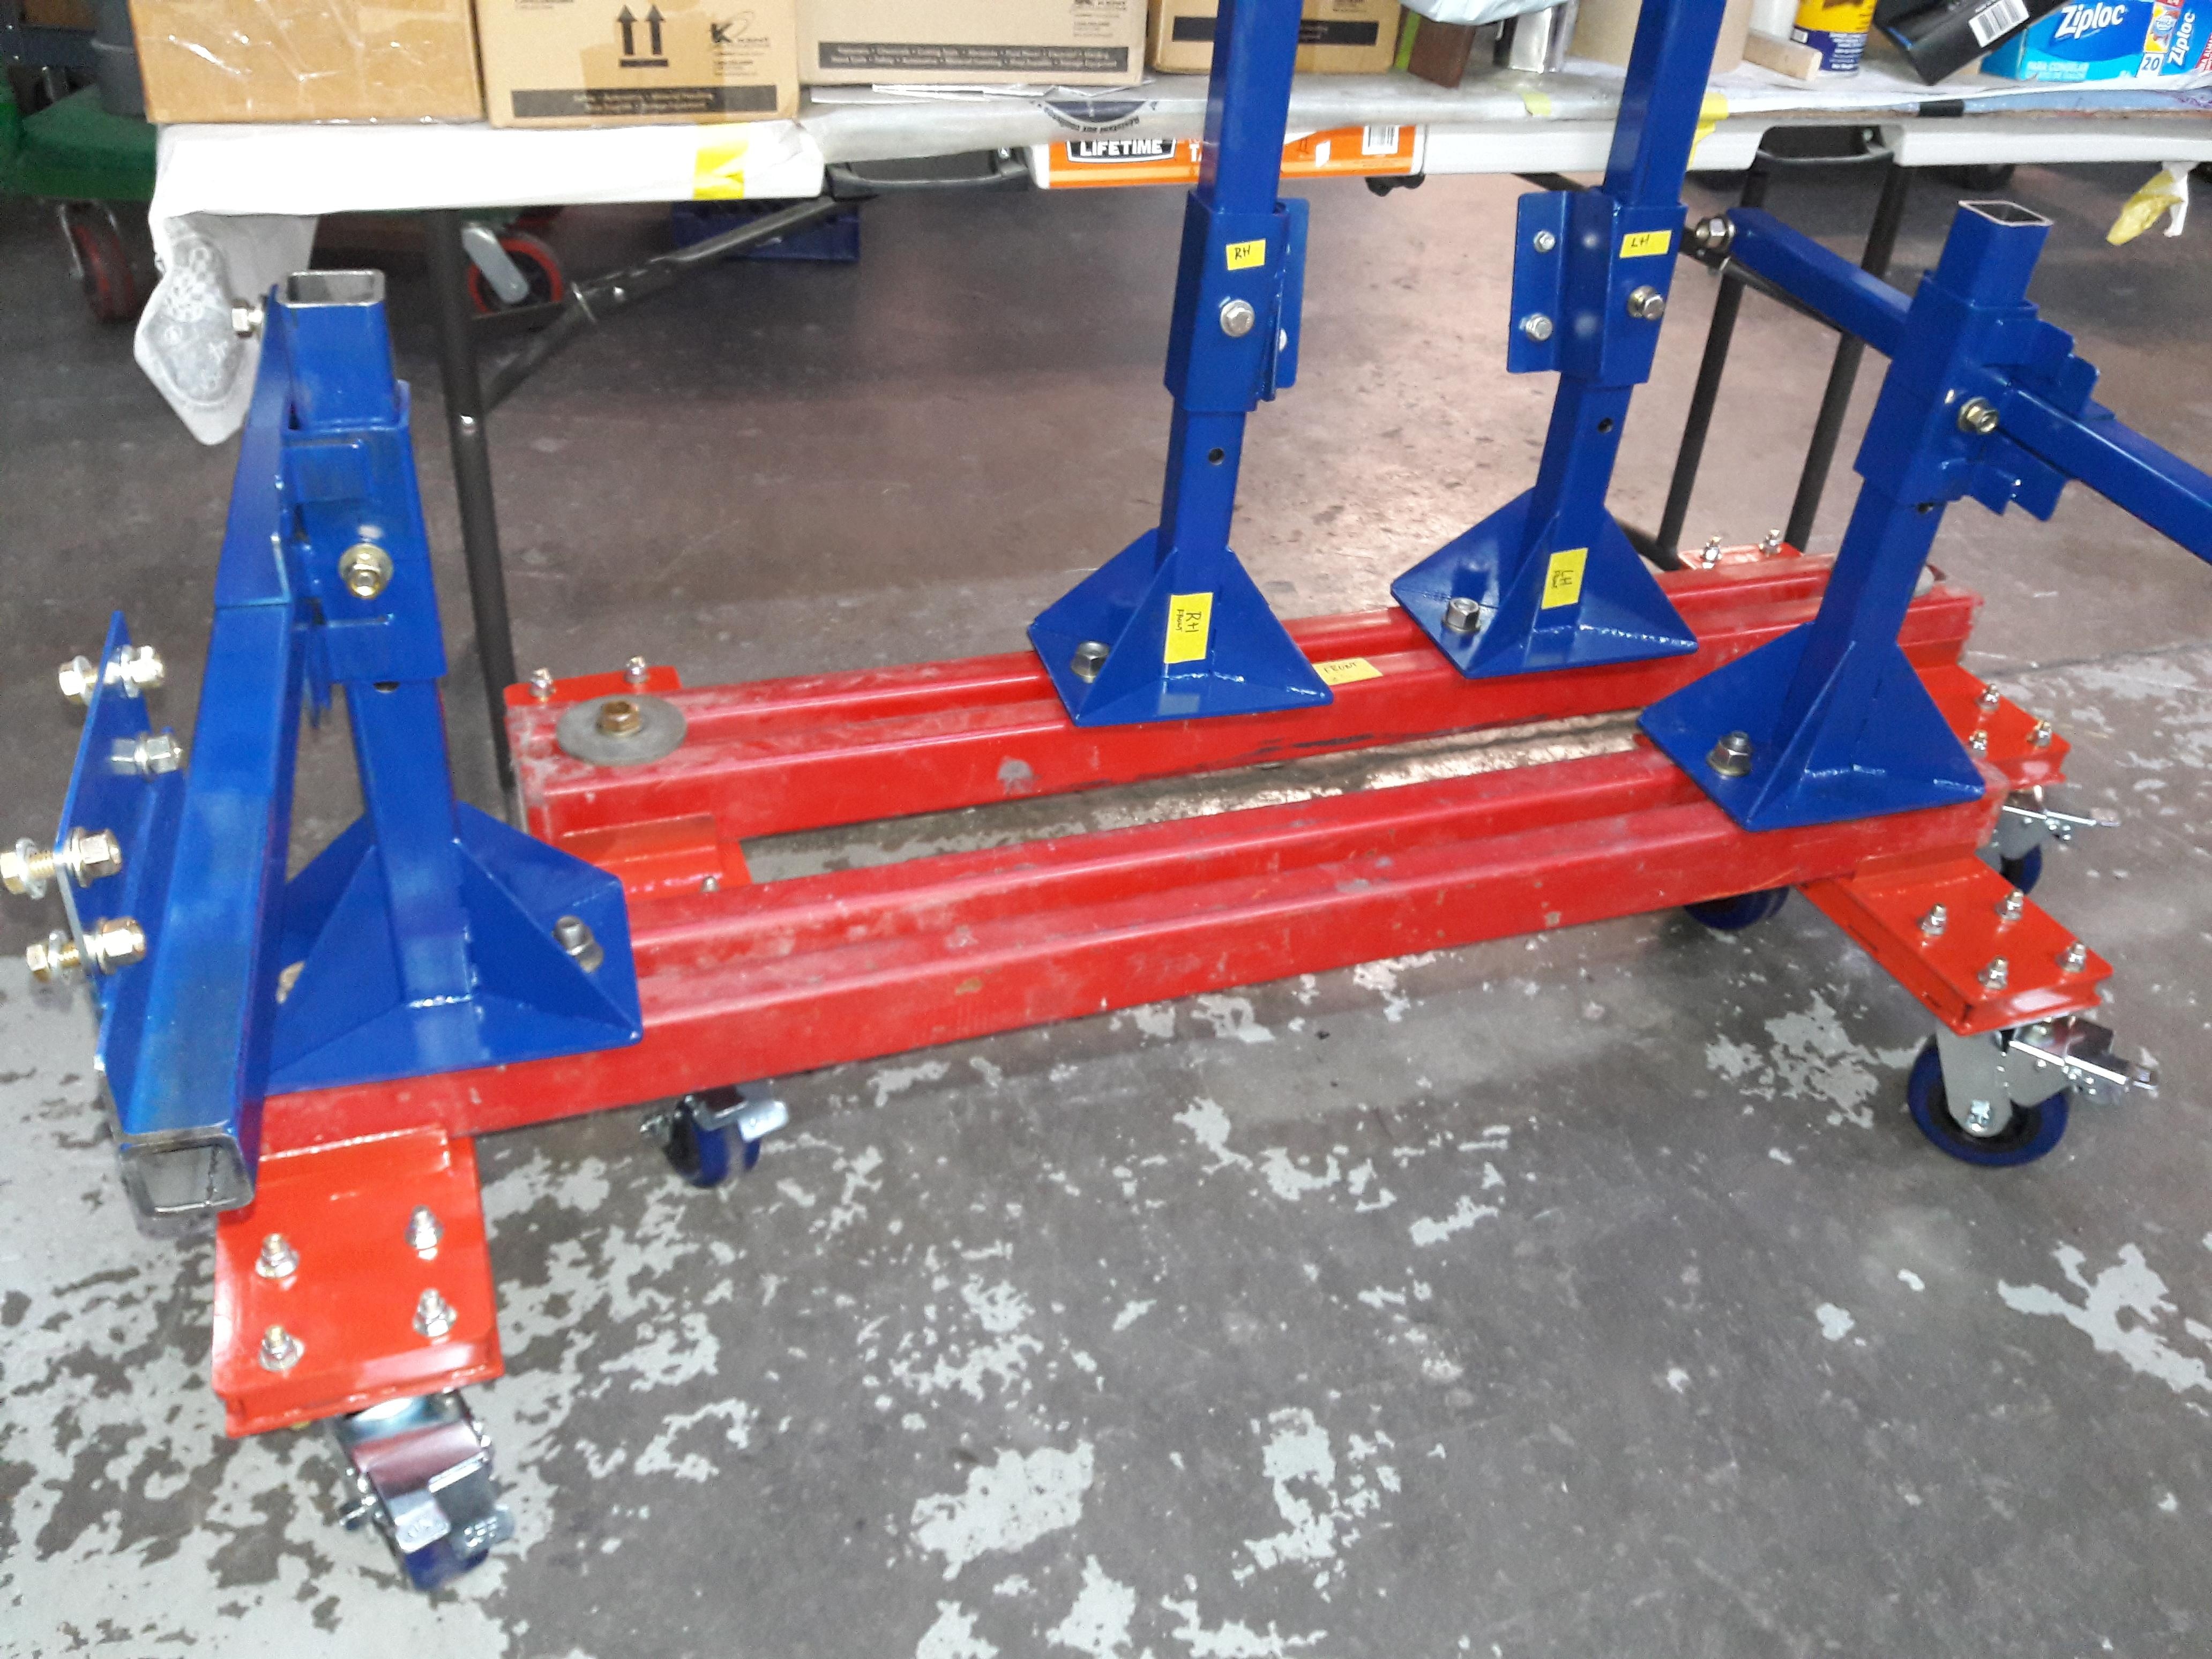
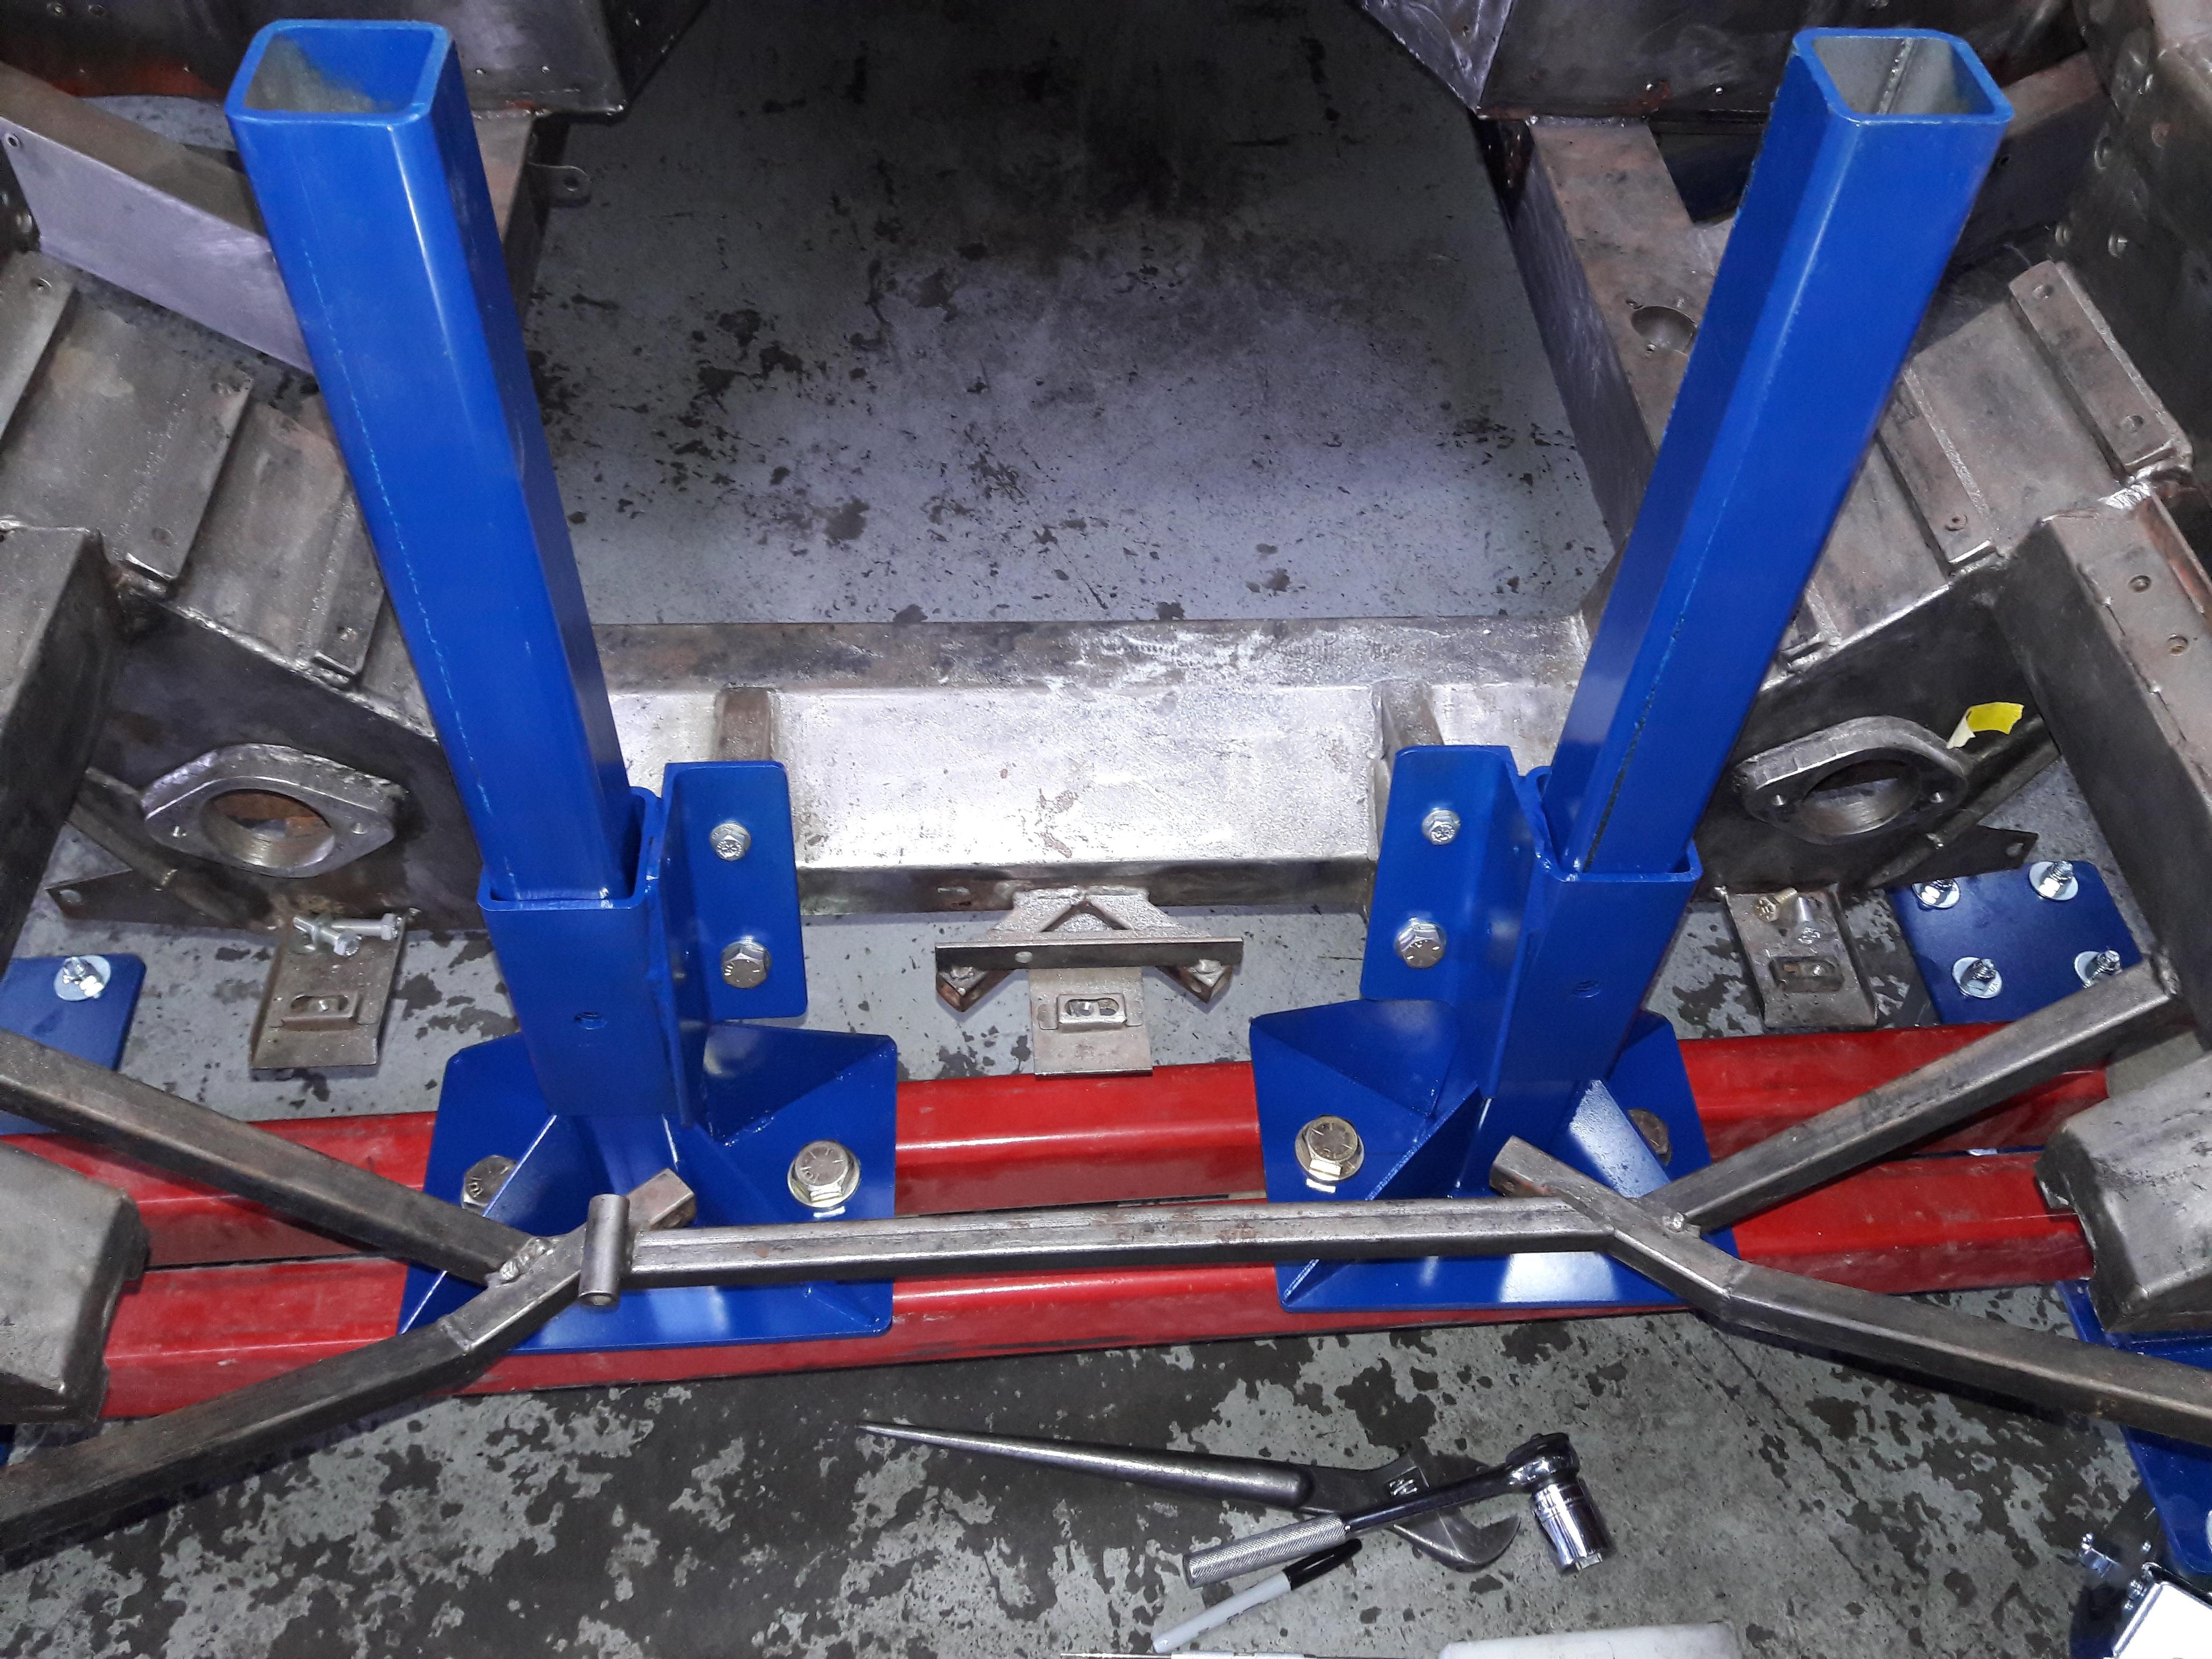
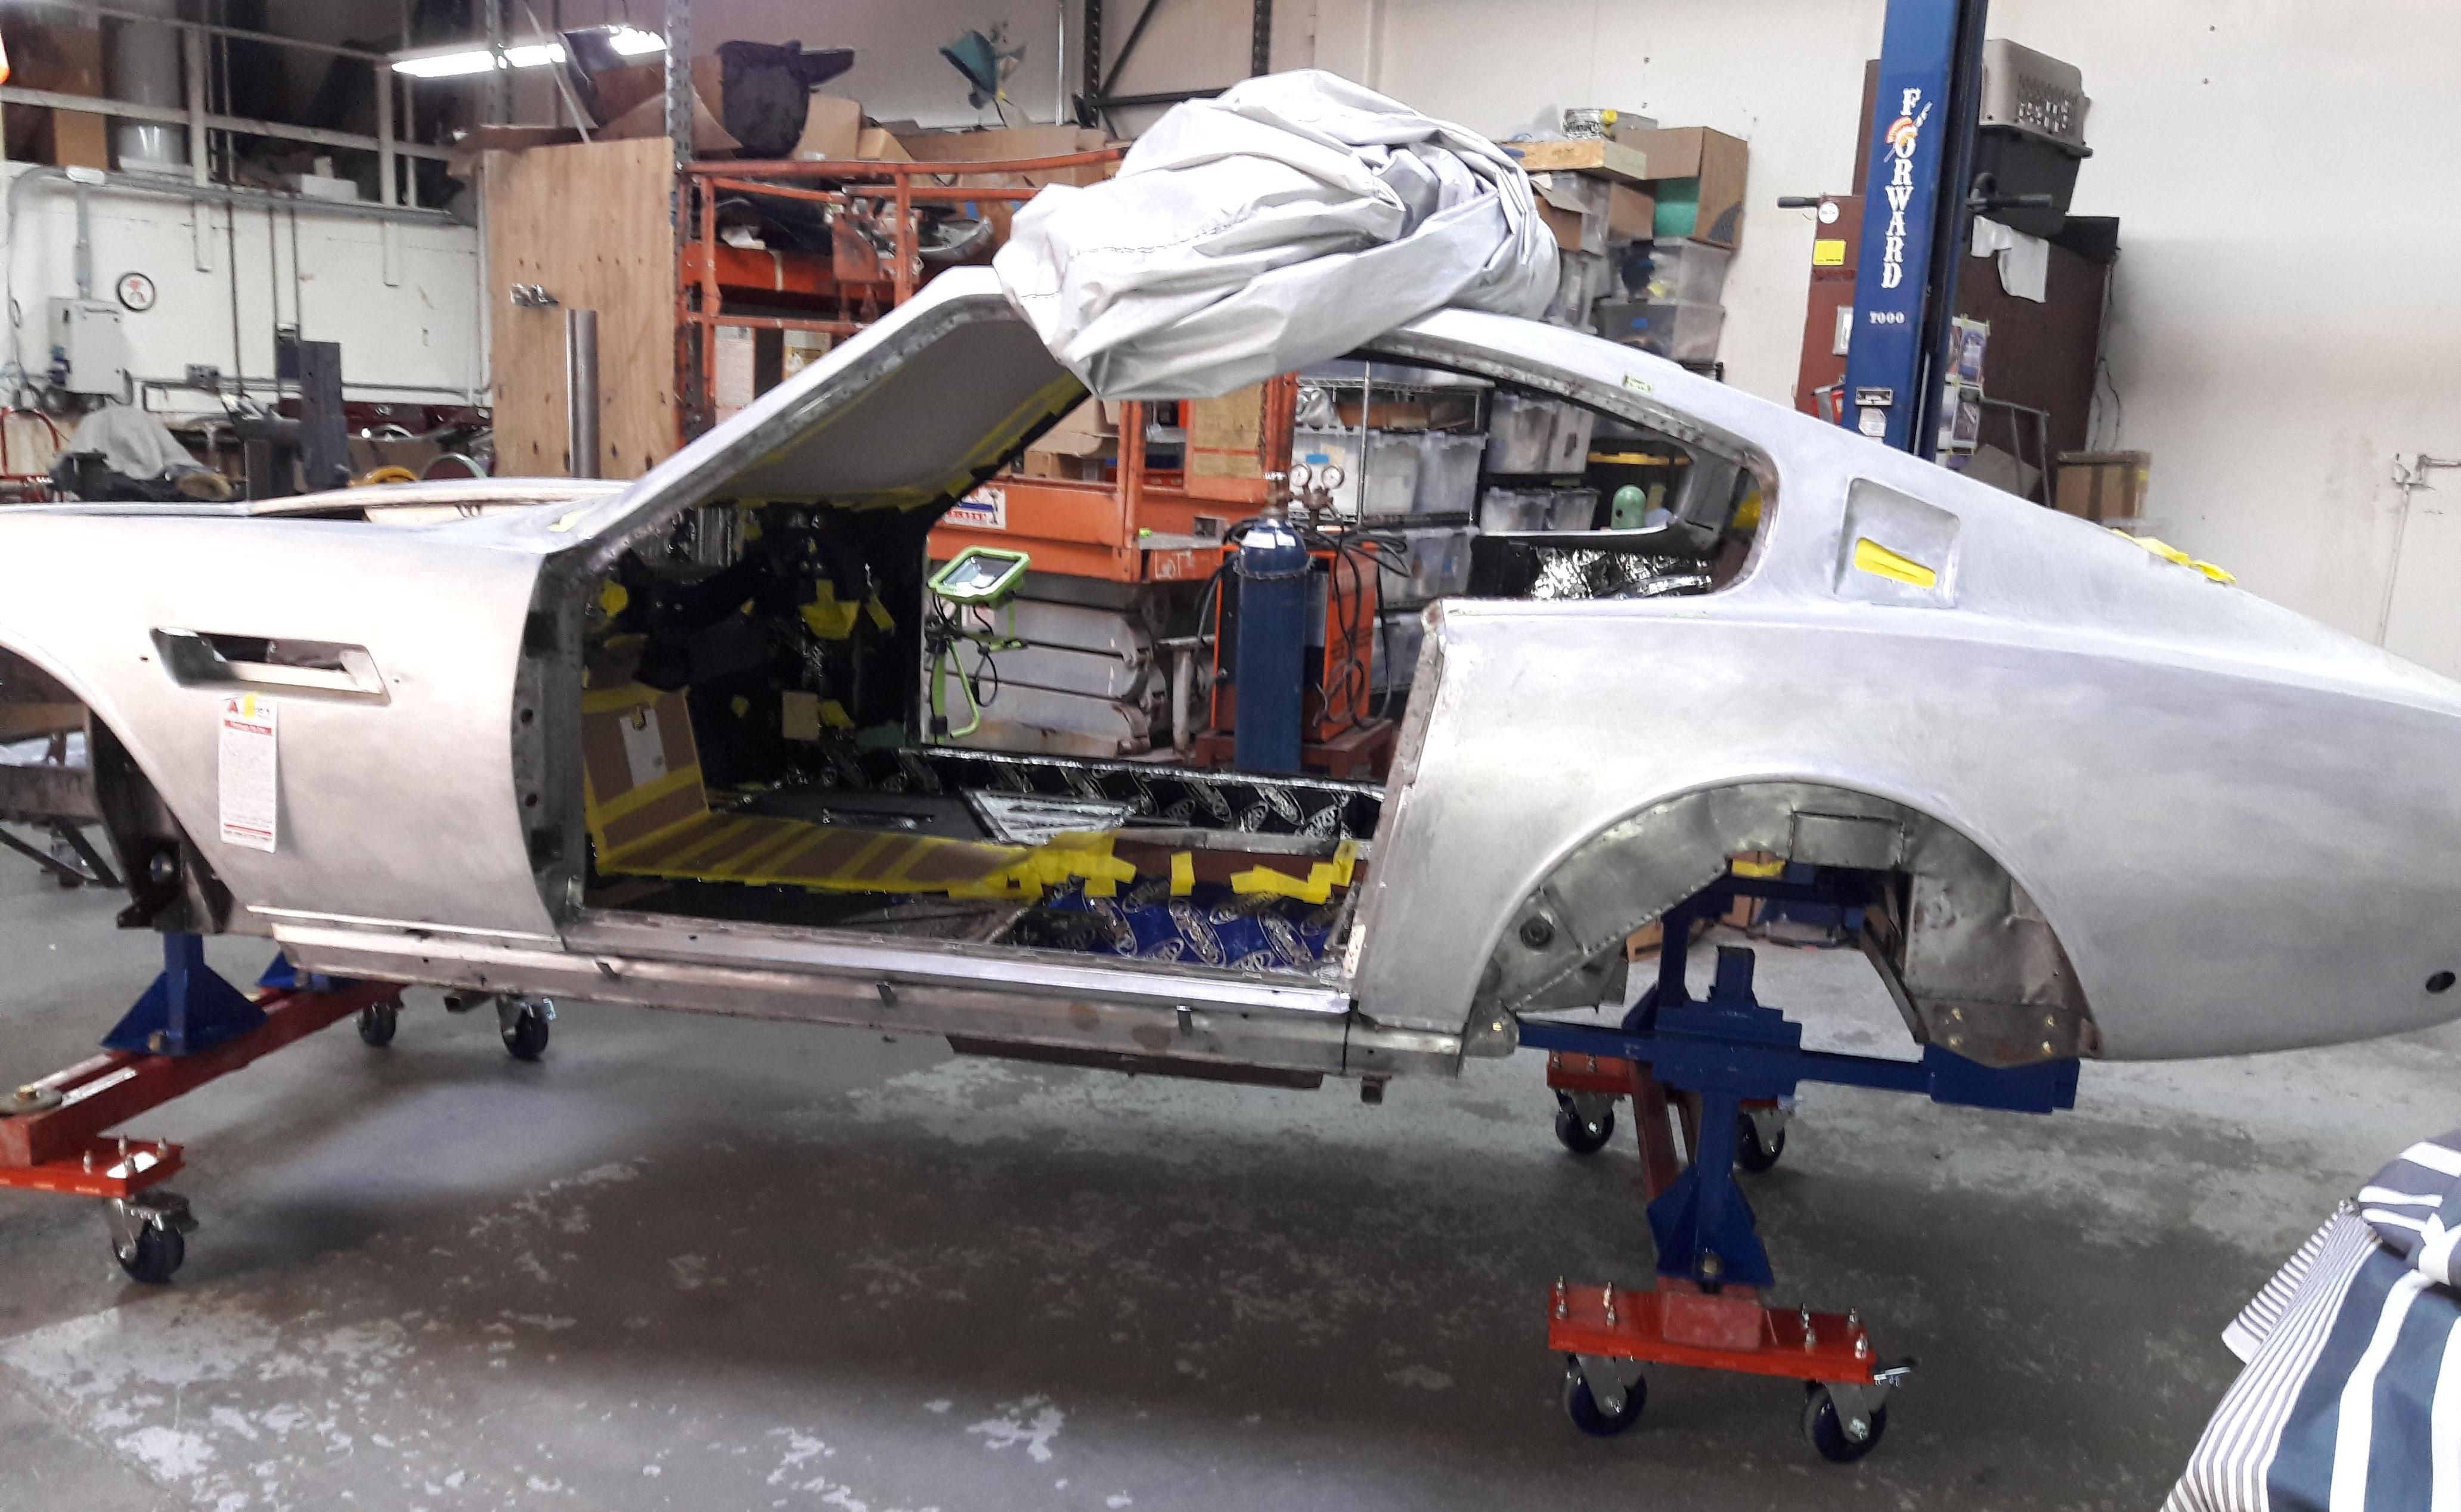
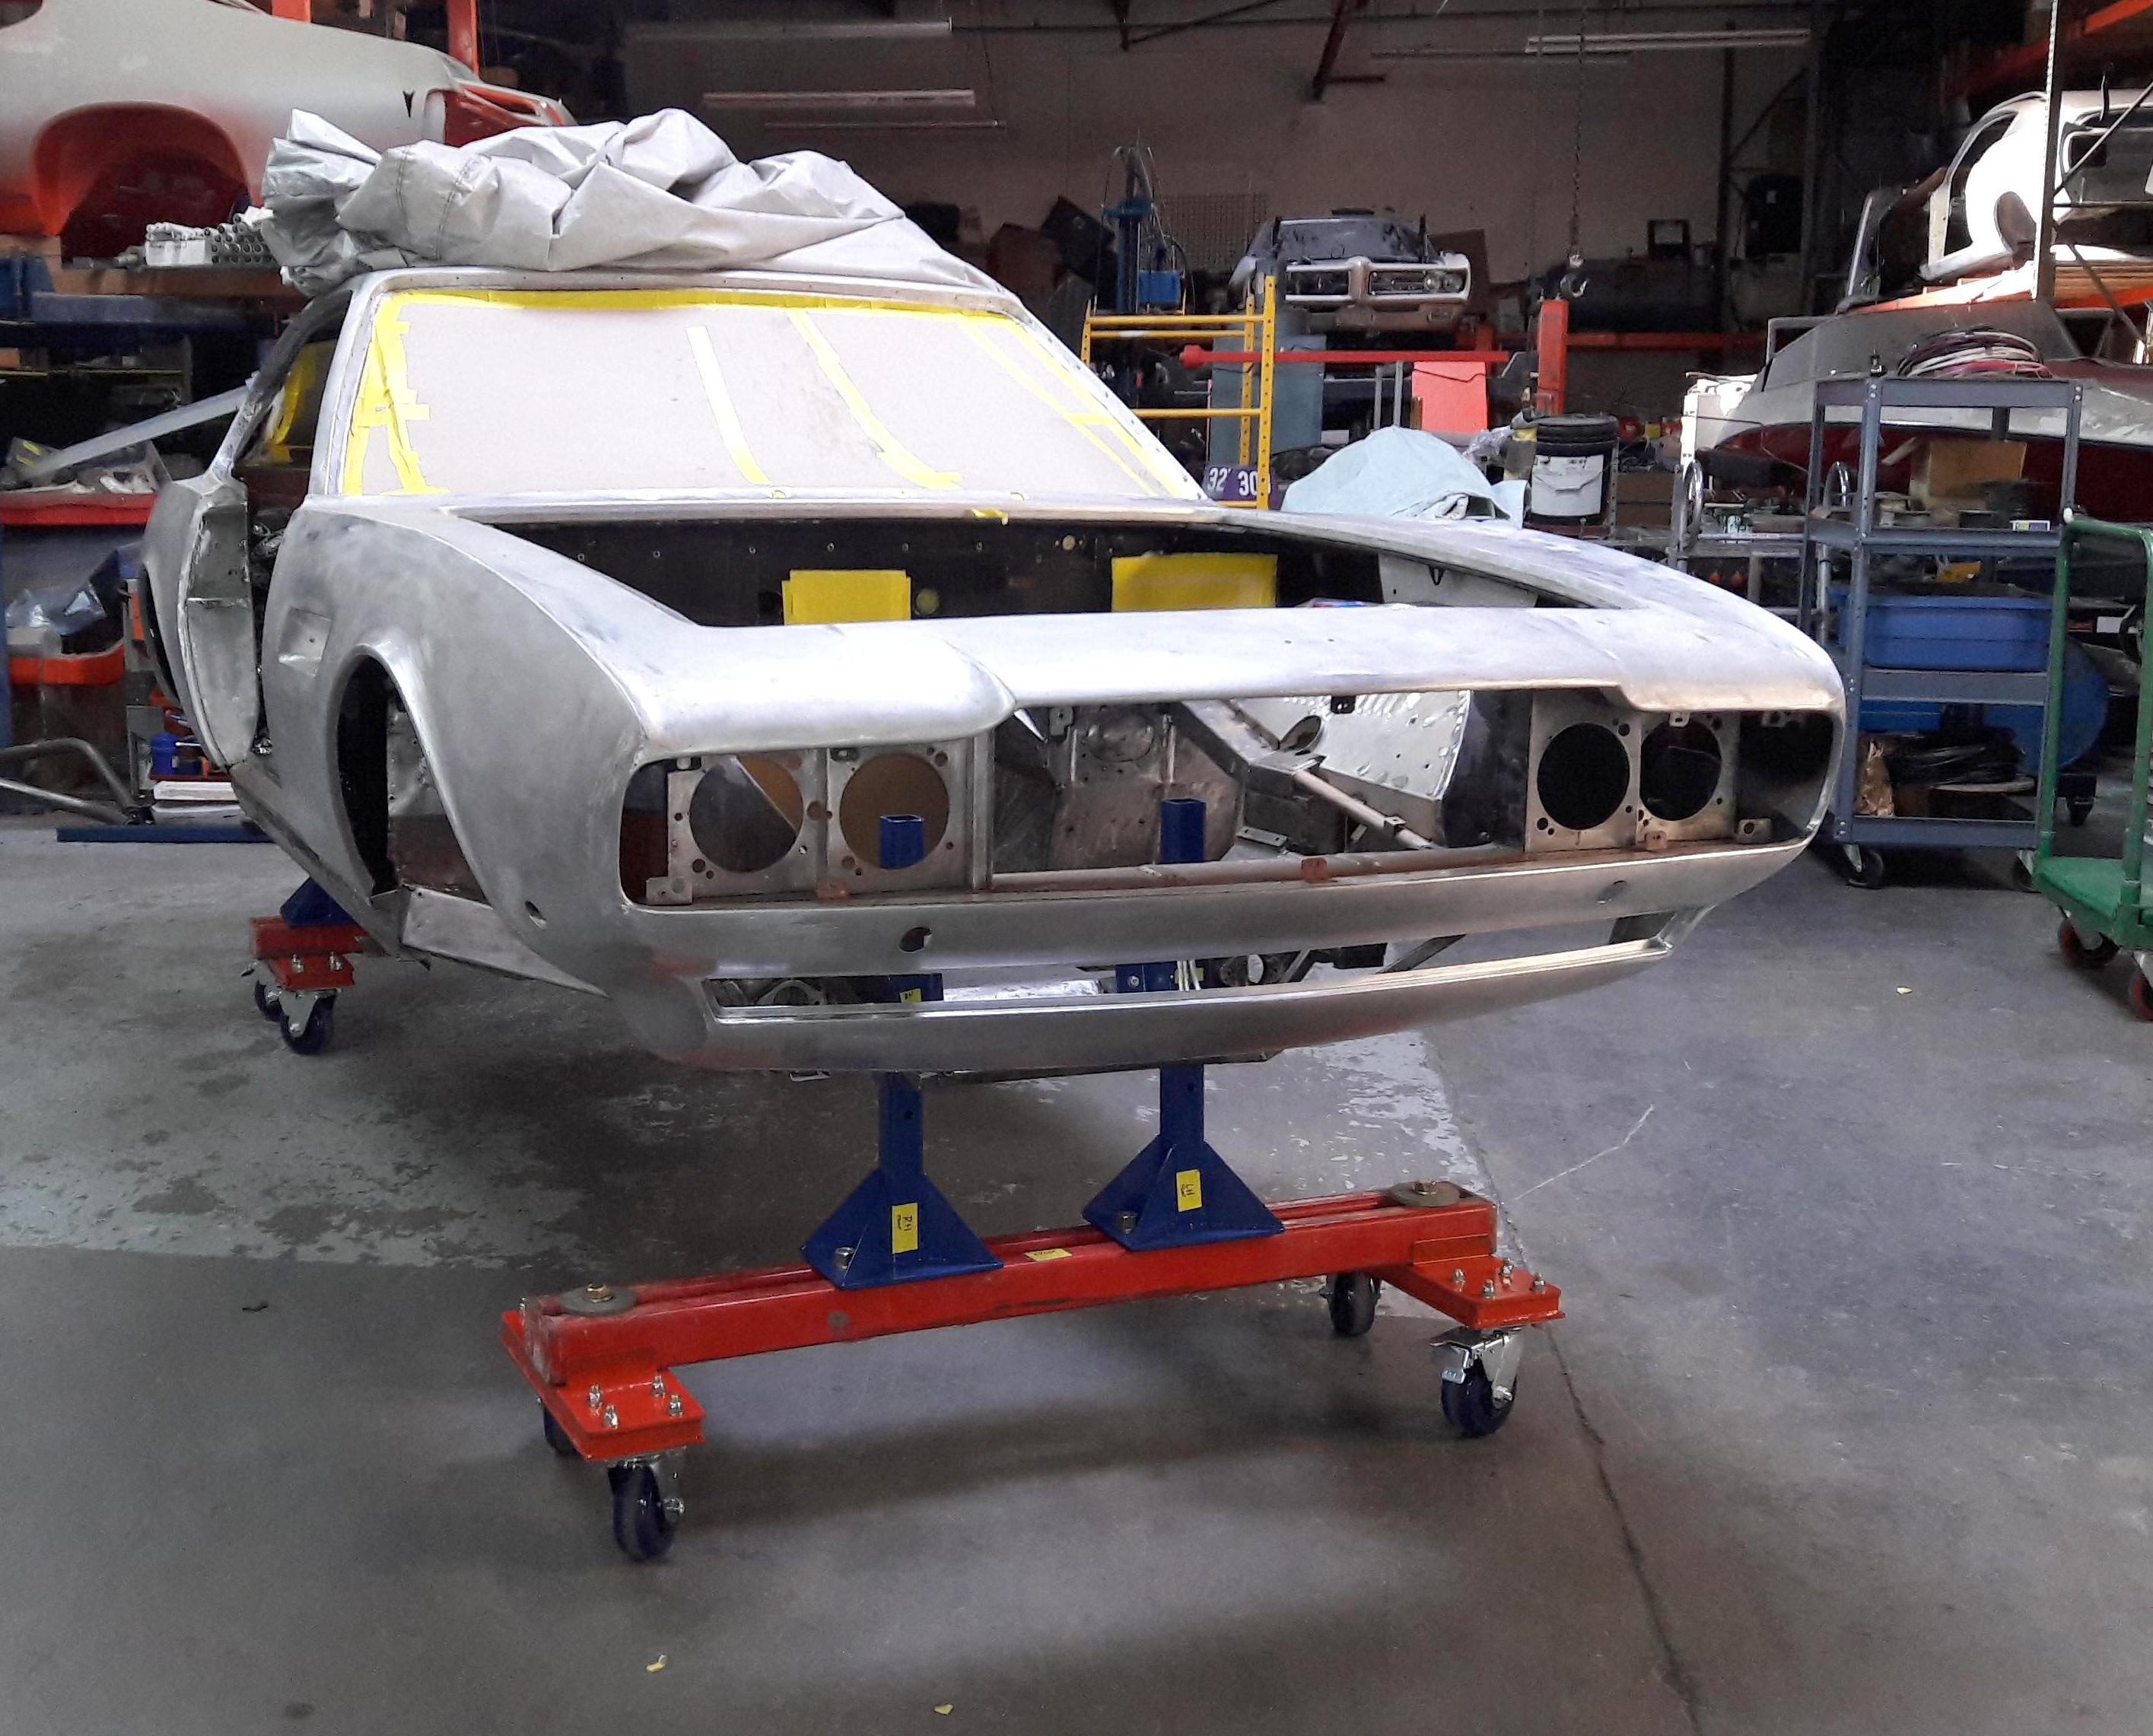
The step after the chassis paint and undercoating is to mount the DBS on to a body cart. You must use the same suspension pickup points as on the lift, as the chassis tends to flex, and our door gaps, set while on the lift, will not align if the original points are not used! A critical step oft overlooked. Imagine having perfect door gaps, and then receiving painted doors, bonnet, etc, only to find that they no longer fit, as you had set gaps based upon the car resting on stands, or even the rotisserie, which does not simulate the suspension points.
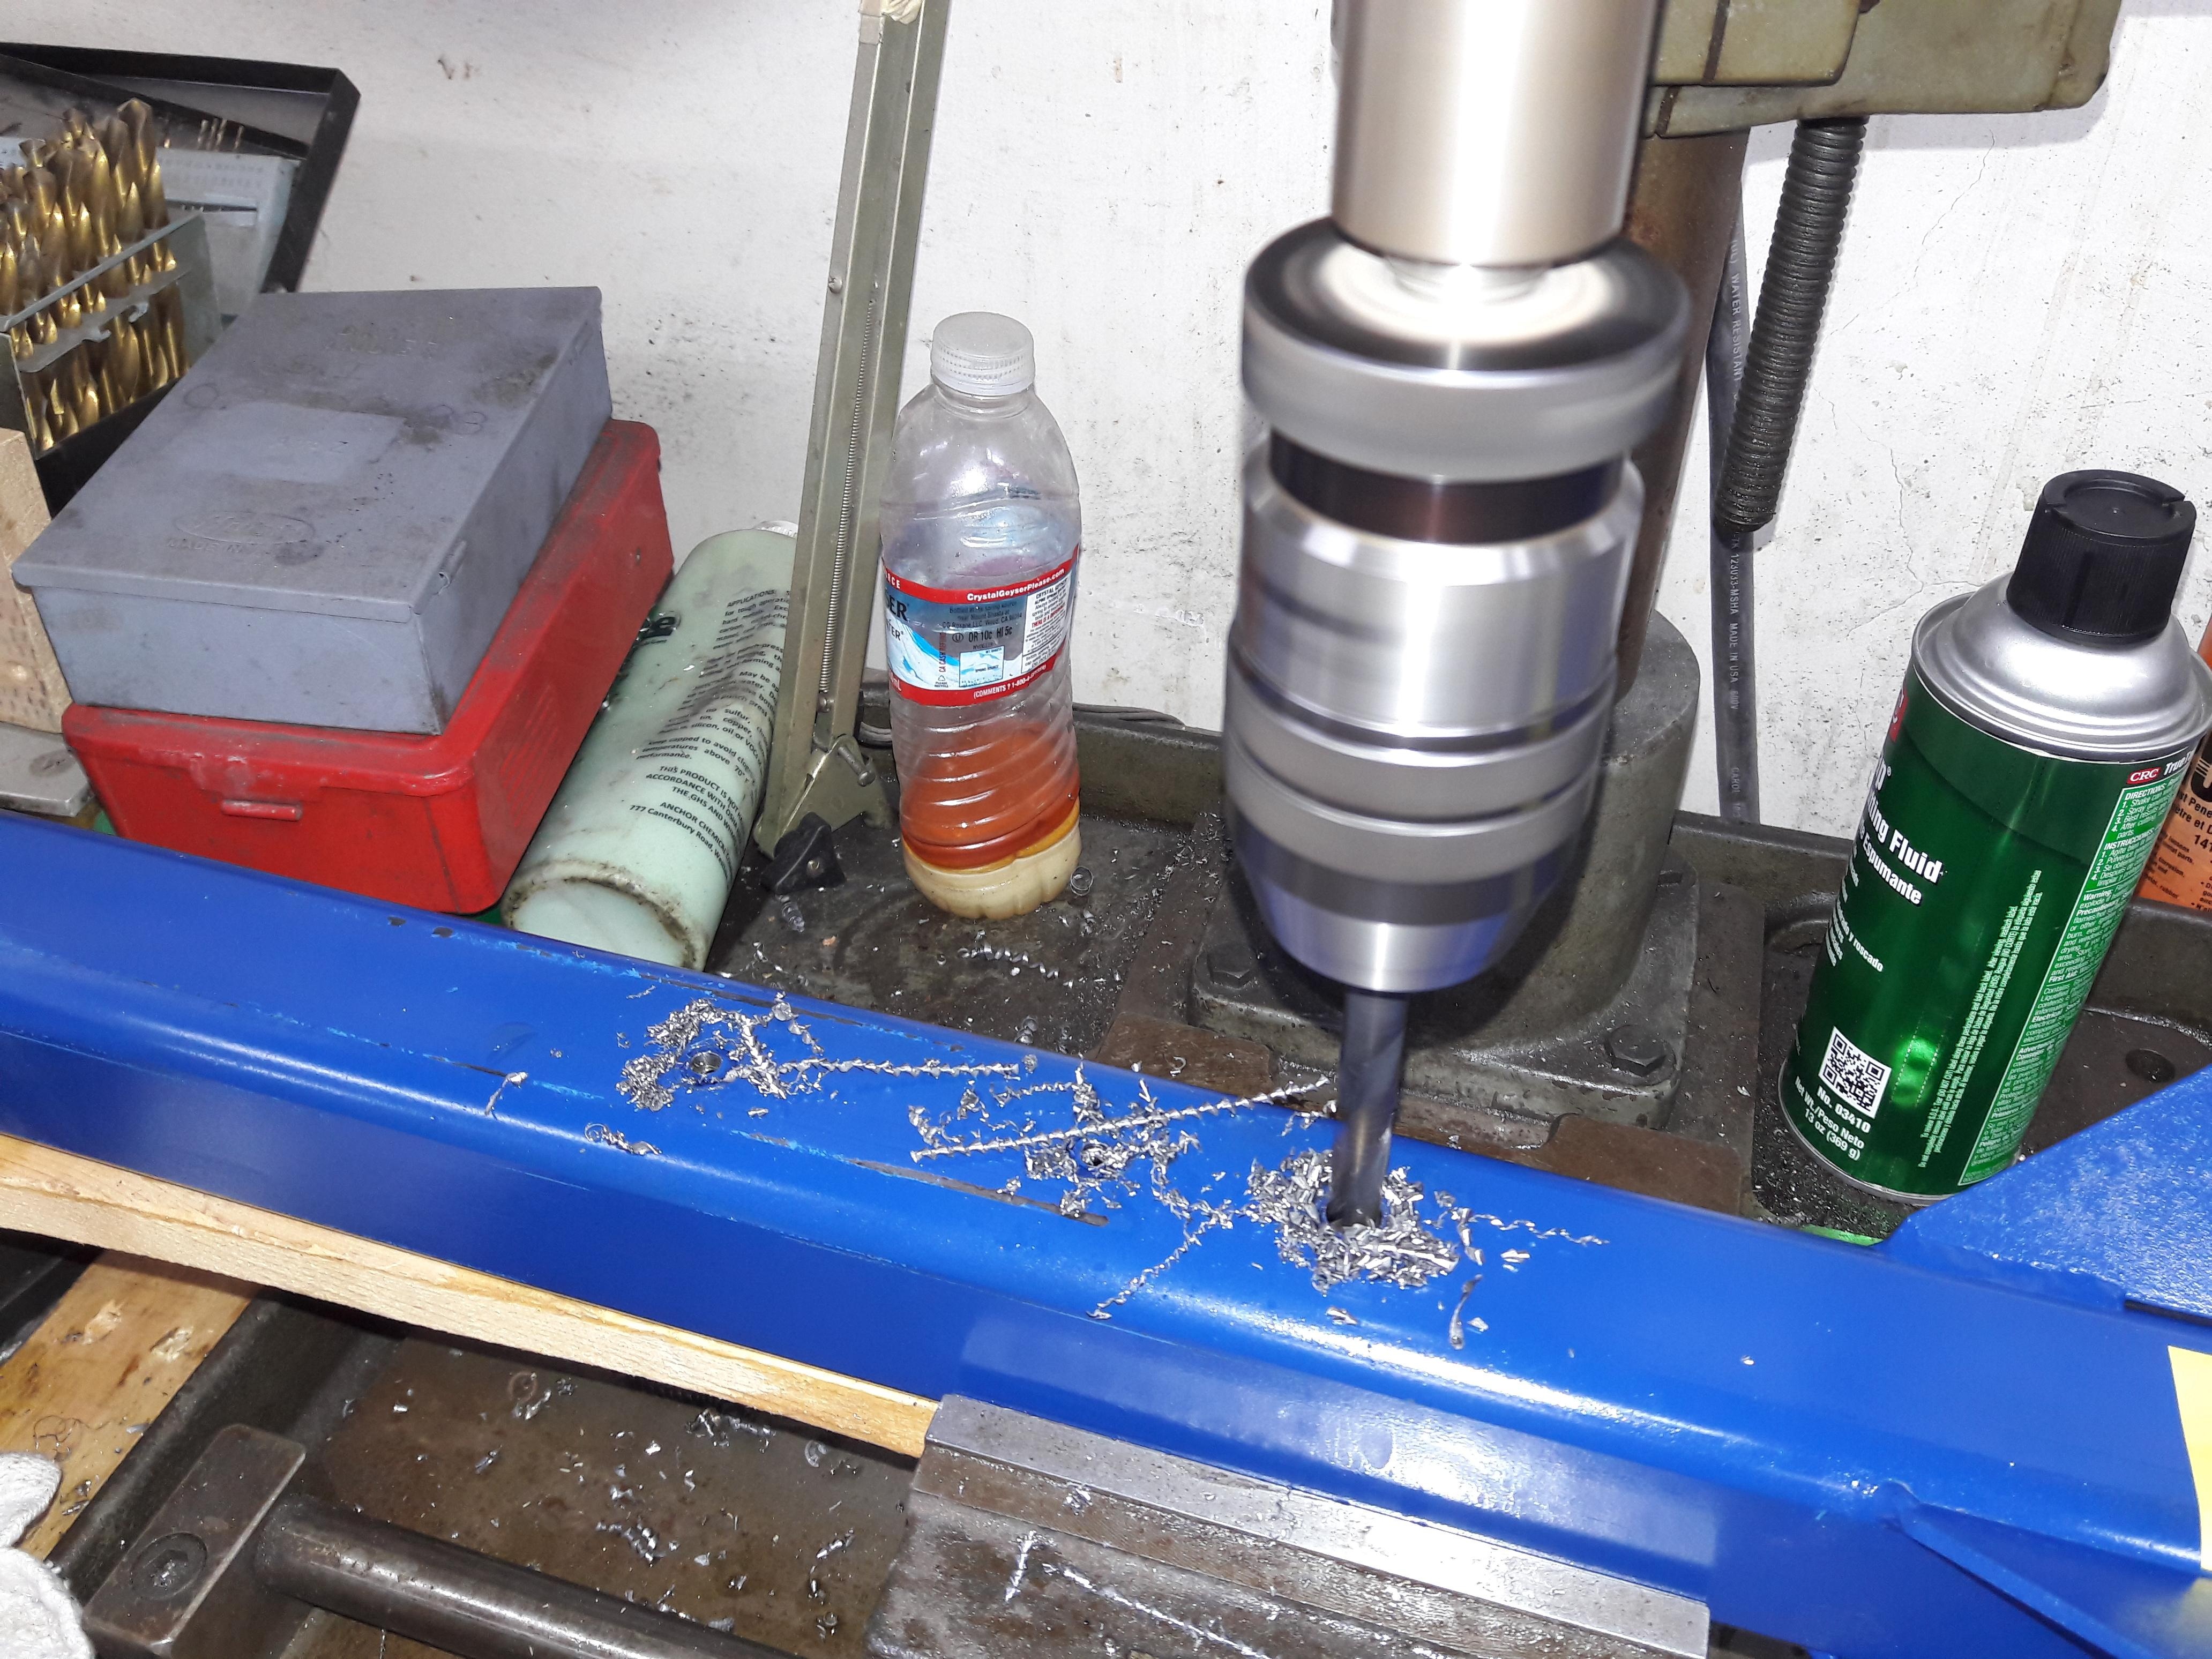
I made this adjustable dolly, using the main beams from a Chief frame machine. Casters are of the best quality, and they all have brakes on them. All frame rack, Gr8 hardware is used- no offshore Chinese low quality bolts, which our hardware stores are flooded with. I purchased them from a US screw company that makes them here. I have seen those other bolts sheer off, and cars nearly come down off of a frame rack!
The blocking phase and final painting of the body will happen on this cart. Following that, she will be Olive again, and Her Majesty's DBS will again go to my lift, and the suspension shall be installed, making what we call a "Rolling Chassis."
For those of you who aren't familiar with the term "Blocking," it is perhaps the most important, yet often omitted, step in achieving a straight body to paint. Plenty of photos shall be posted during that operation. Essentially, you fit all panels, gapped properly, and the begin to fill and block sand to achieve a flow over the body that will have matching panels, and no seams. This should be a 3 month endeavour for myself and our paint crew. I aim to do most of it myself, however, i am not an expert in this field, and will defer to better hands...
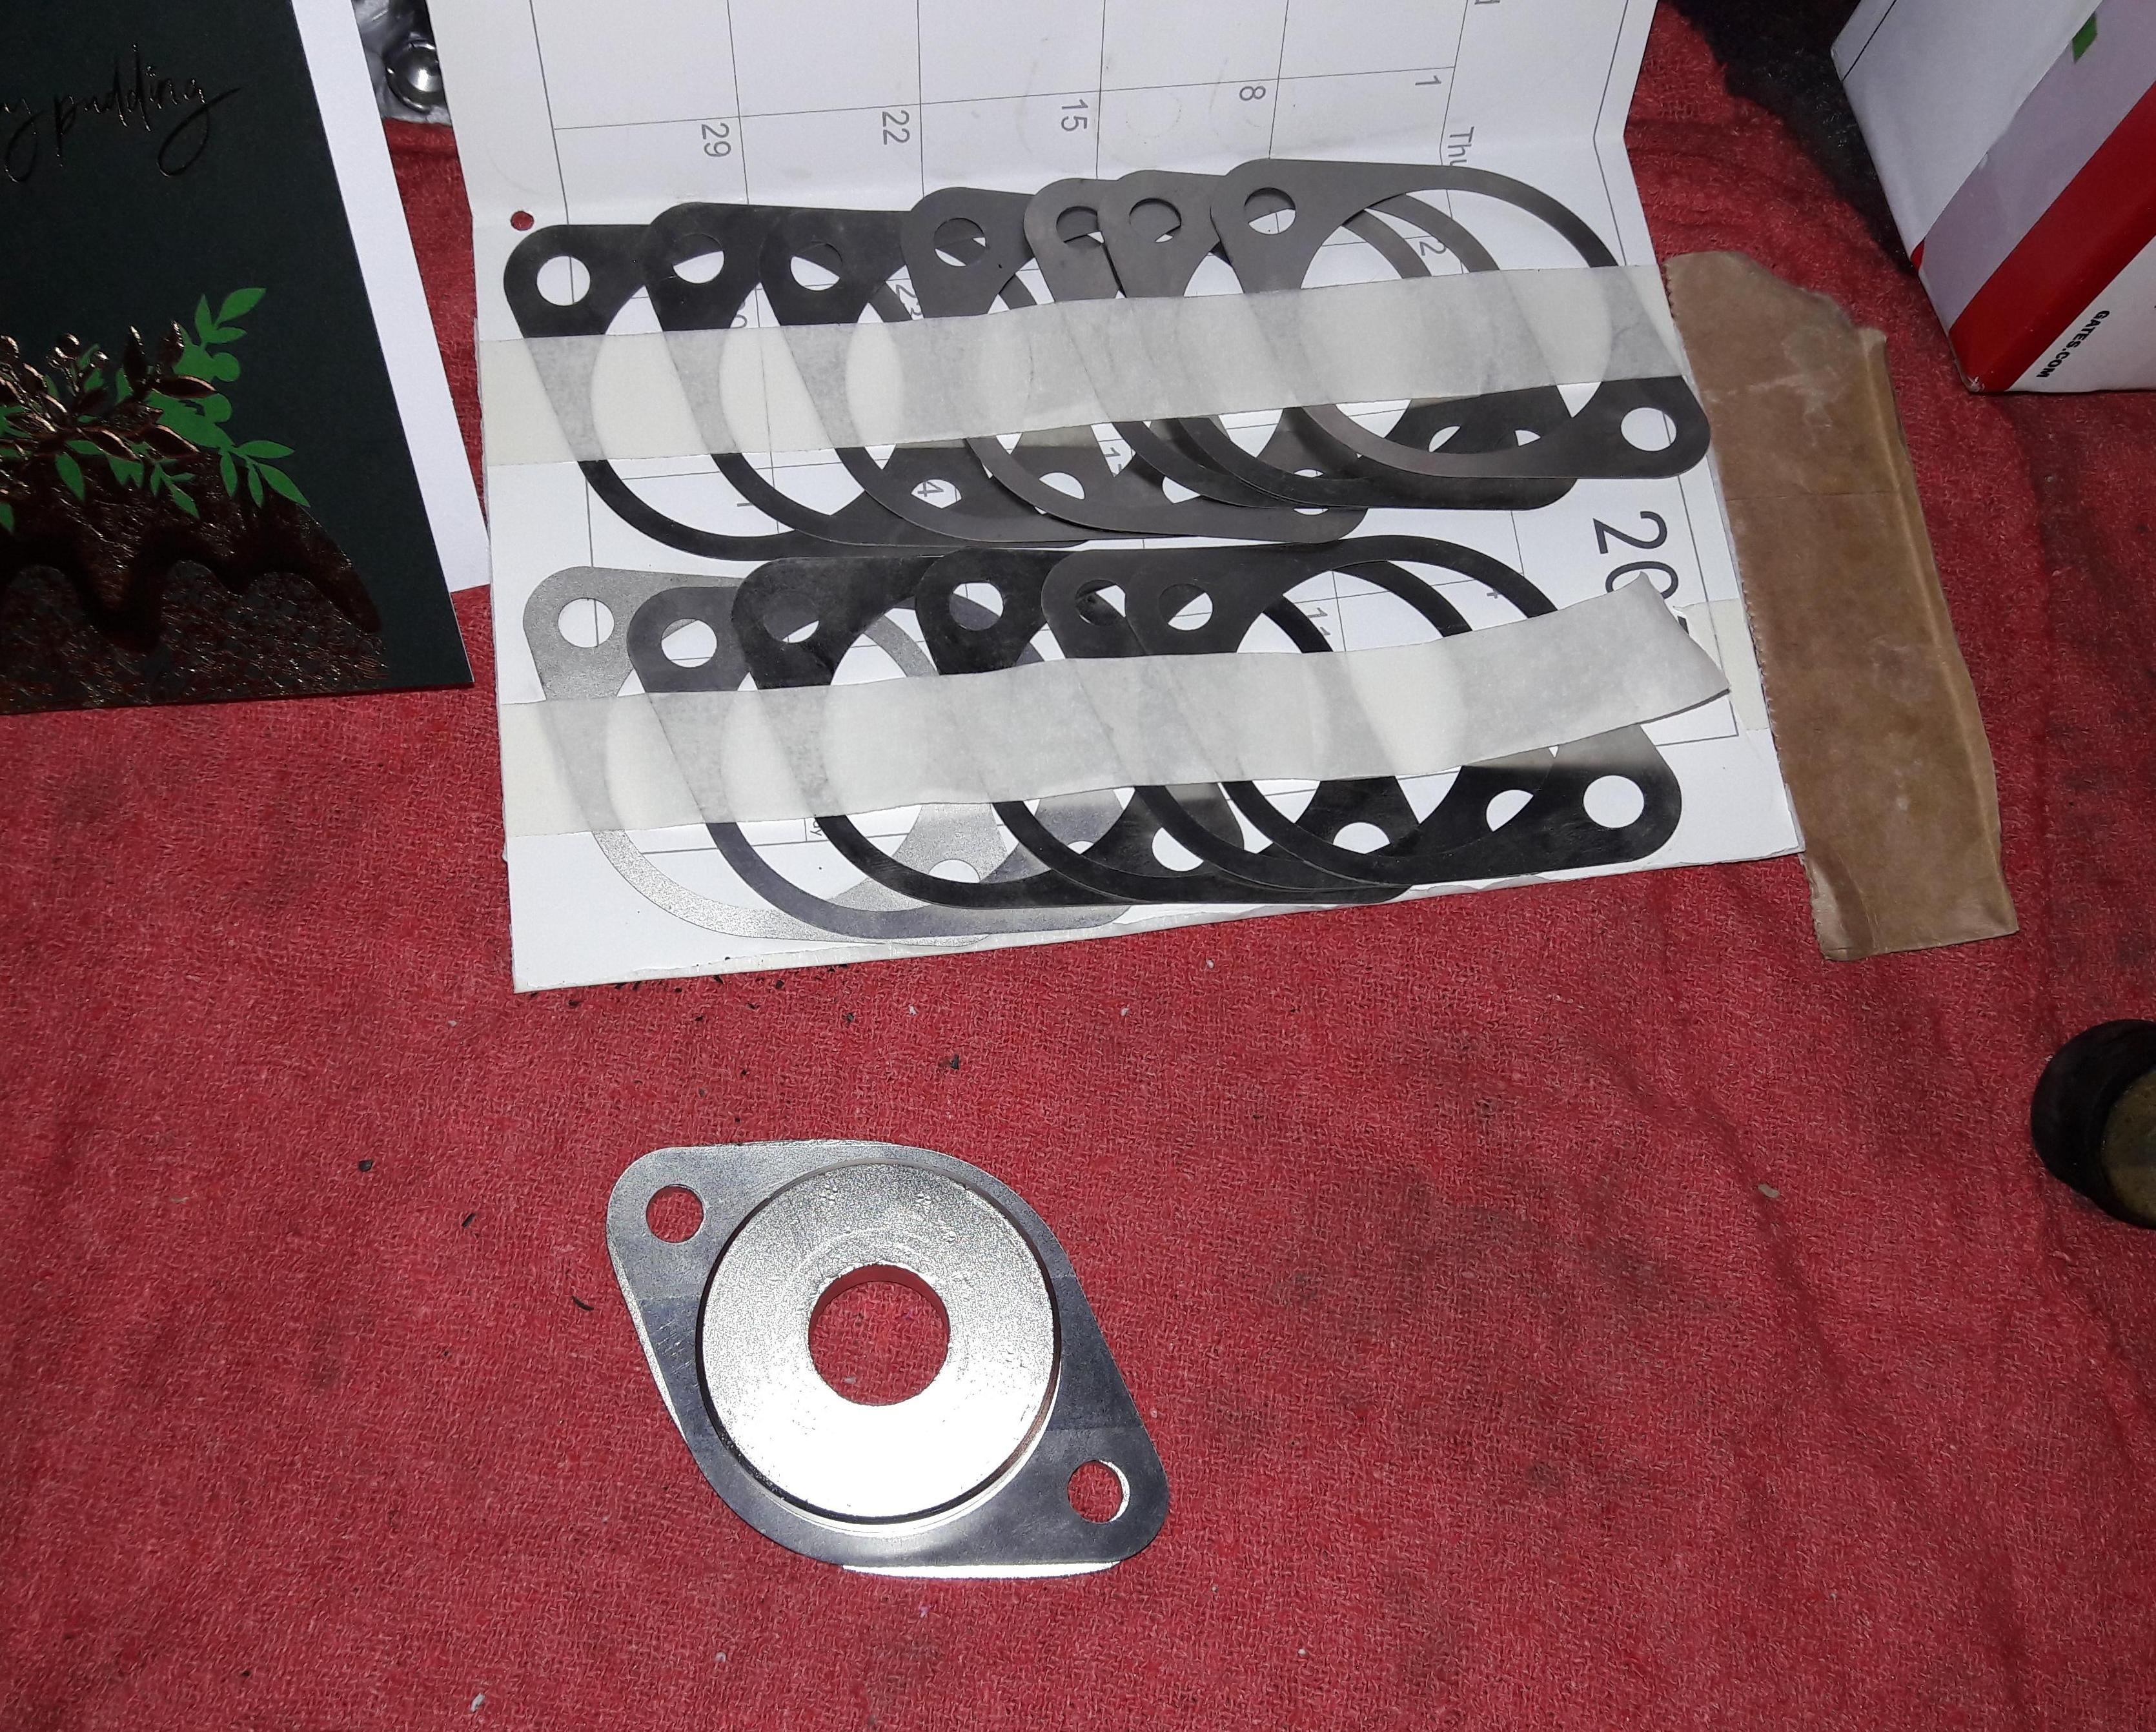
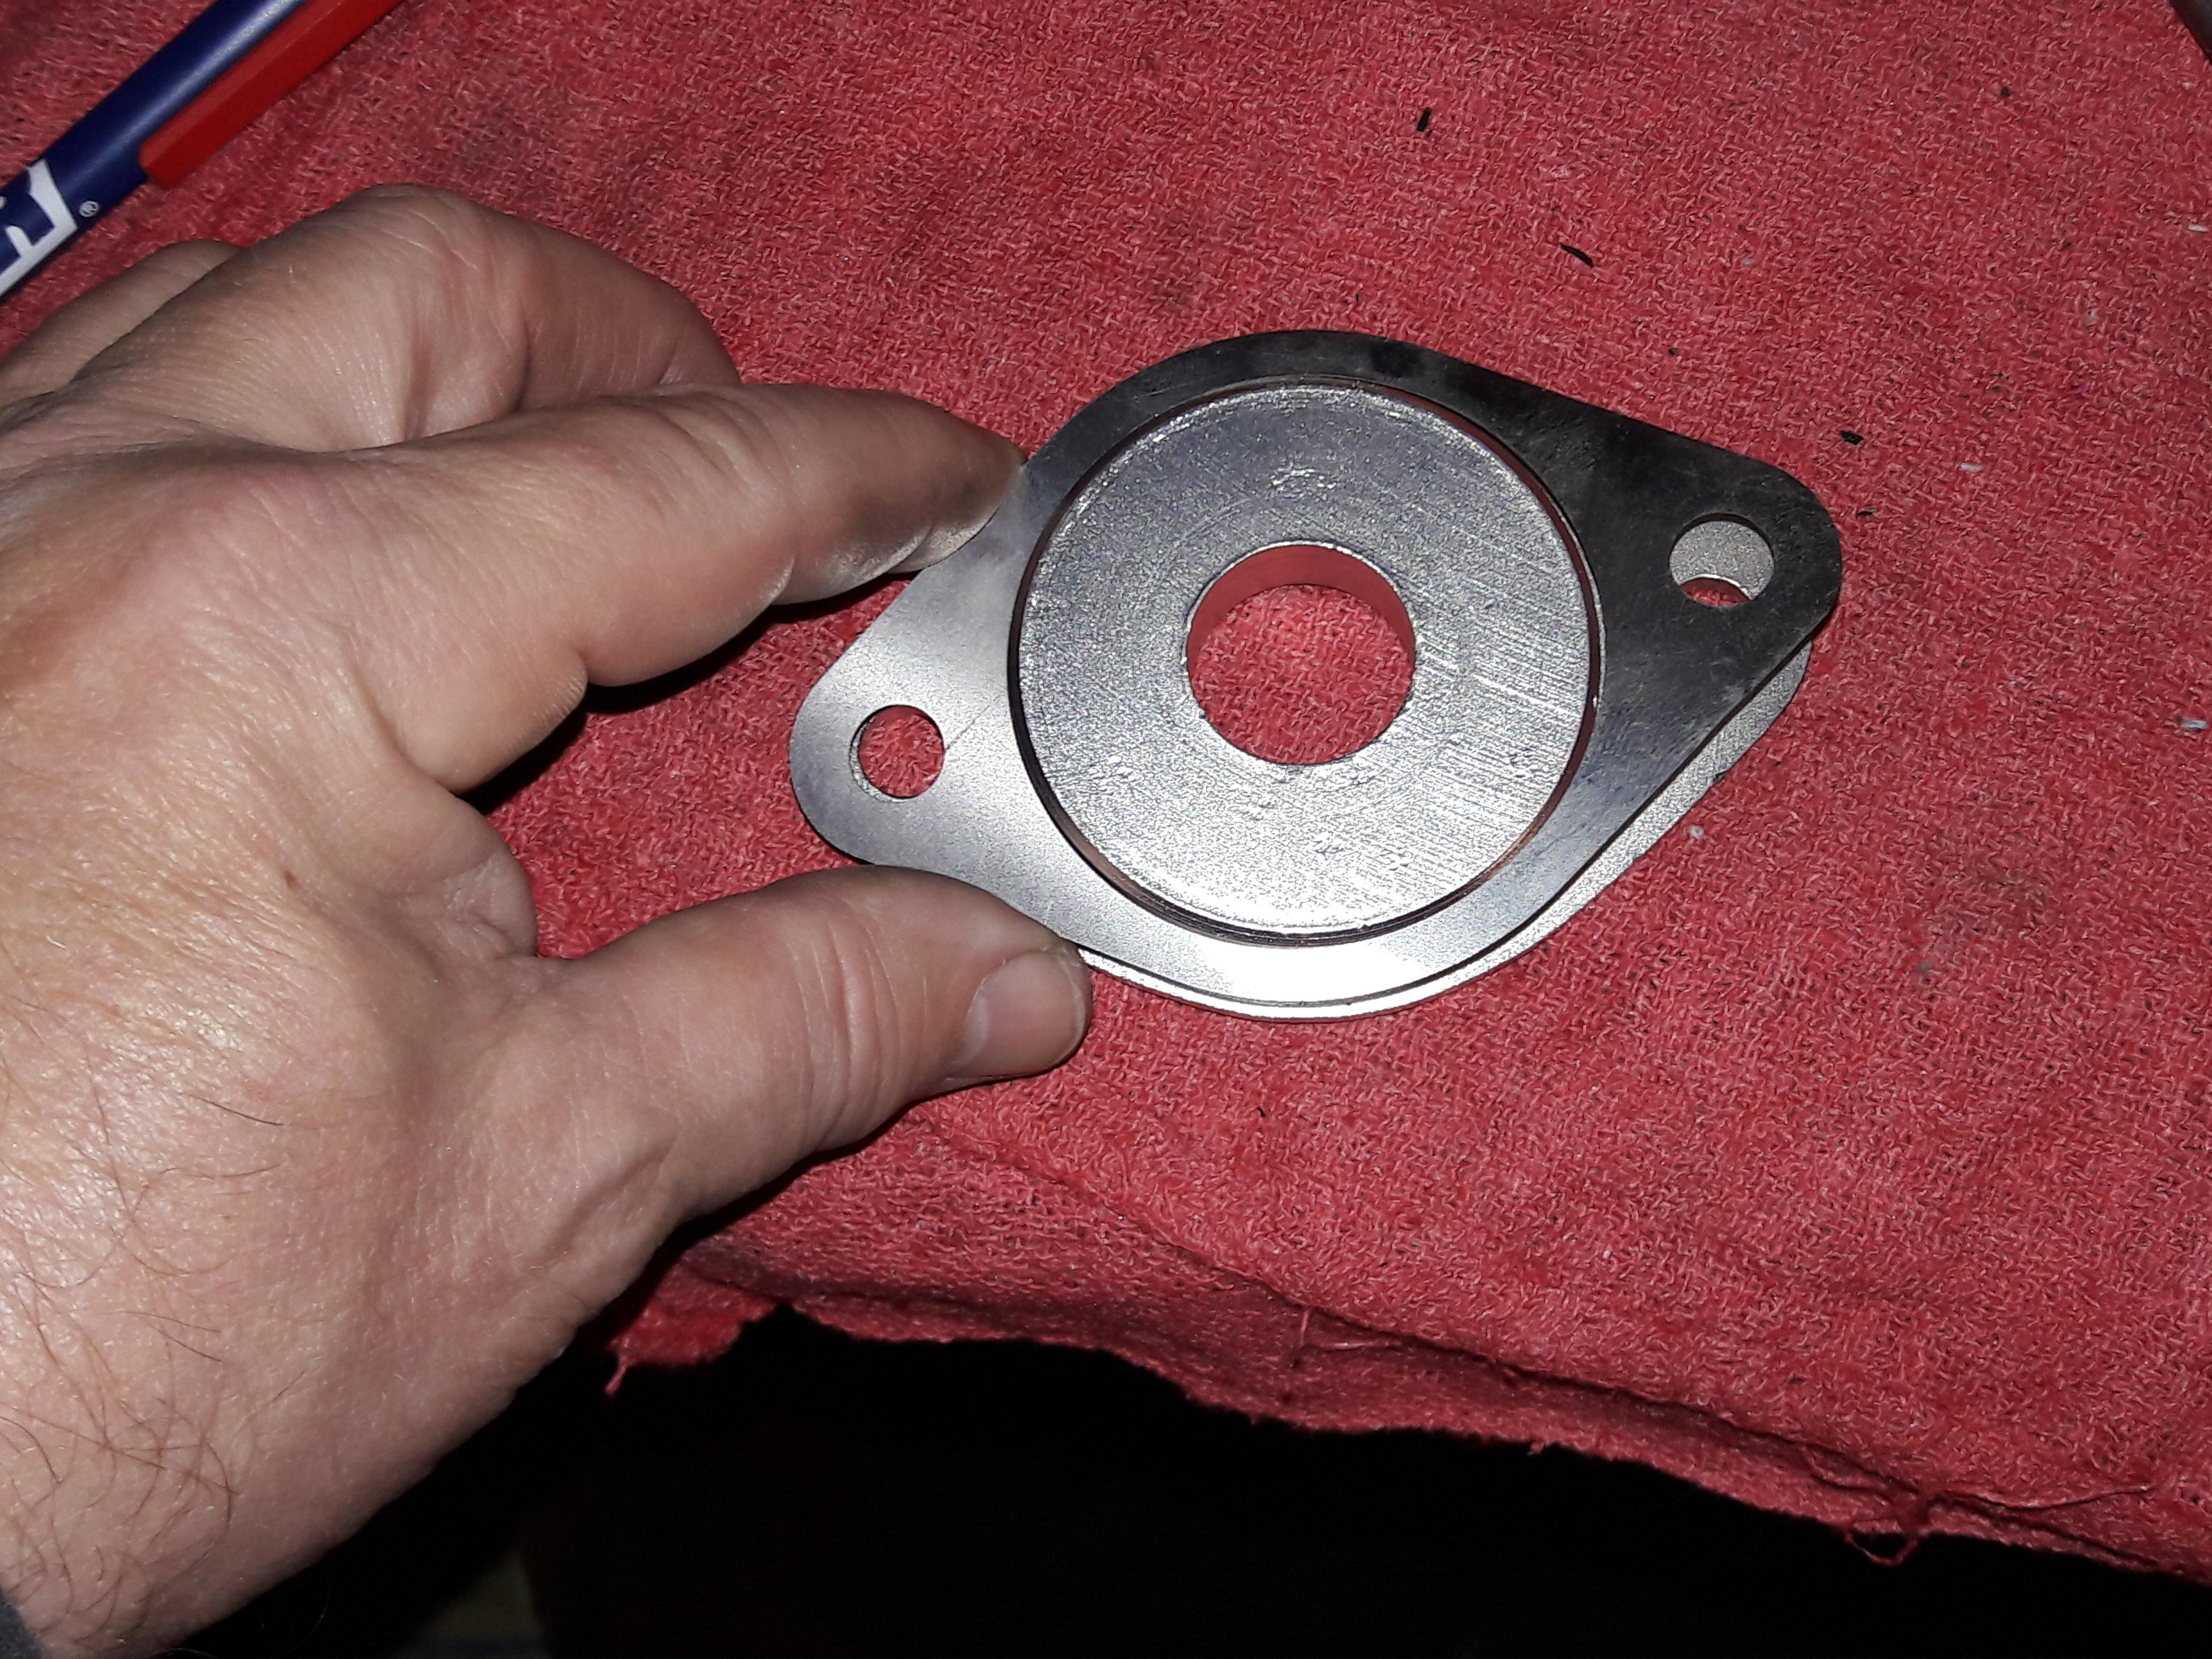
Let us move on to the front suspension: Above is the spindle plate that locates the front lower wishbone. Those are shims, used to set the preload on the arm. AM gives you a specification to use a scale and distance, however, from experience, you can tell if you've got it right. Aston Martin sells the original shims, which were brass, and paper thin, for about GBP 40 per shim. They only sell one size, and make you stack them. The brass shims get dogeared easily, and are prone to corrosion. Most cars need about 16 of them. That adds up quickly! Since mine were missing, I contacted a fellow DBS owner, who had some made from SS, and laser cut. For GBP 25 total, I have a set of shims that fit perfectly, and are of varying thicknesses.
Cheers, Tom